First up, a Thanksgiving banner reminding us to Give Thanks for our many blessings. I look forward to hanging this up again next fall in our own home.
We started with some cardstock (we used size A2 flat cards from Papersource which measure approximately 4"x5"). I cut down some scrap book paper in a fun, sunny yellow pattern to size with scallop scissors. Note- I didn't measure at all for this project. If your banner is a little lopsided I promise you that the world will not end as a result. Glue to backing card stock- we use a glue stick and it works fine.
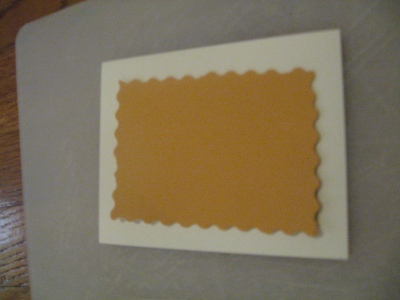 Next, print out your message. I just use Microsoft Word and enlarge it to 225%. Use a bold font or it will be super hard to cut out the letters. We used Arial Black, I think. Cut out the printed letters and trace them onto the back of your decorative paper (remember to flip the letter when you trace it so it will be showing the right way!) Glue and cut and glue and cut and wish your message was shorter. Alas...
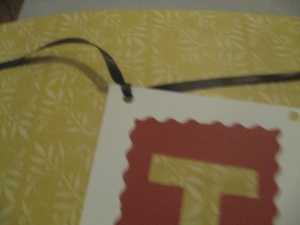 Punch holes in the top corners of each card and thread a thin ribbon, knotting each hole so the cards don't slip around. Leave a few inches of slack between each card.
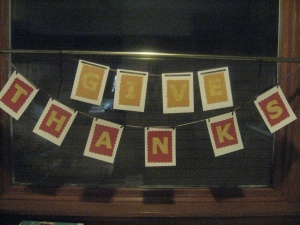
That's it! Easy peasy.
Onto the place cards!! I think that it's nice to have place cards at special occasion meals, mainly just to have a little bit of pretty at each place setting. Ours took no time at all and used materials we already had on hand!
Take one of the aforementioned A2 cards and fold in half (or use whatever size card stock you have lying around). Cut out a piece of scrap book paper to be a little bit smaller than your card (are you getting deja vu yet?). Glue them together. Et voila- you have a basic place card! Aren't you proud?
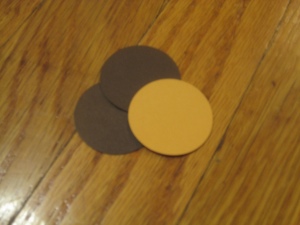
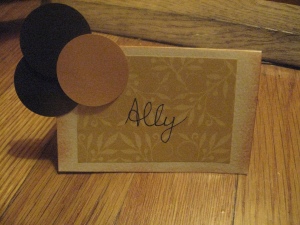
Here is where you embellish. I decided to make little dot decorations with my 1 1/2" circle punch (which I LOVE and which was acquired with a 60% coupon, so I love it even more). I think this little guy adds tons of cute to these place cards!
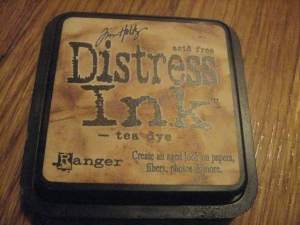
 We ended up adding some ink to the edges to give the cards a warmer, more rustic look. It doesn't scream THANKSGIVING, but is more subtly evocative of fall.
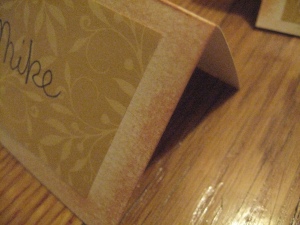 We used this ink to distress the edges. The color is "tea dye" and its a really rich brown-red-gold.
And this is how they came out! I think we'll make these again for Christmas dinner, they're so easy and cute!!!
 What are you crafting for the holidays??? Let us know!

[...] glued on a few paper-punch circles leftover from our Thanksgiving placecards and stamped some festive holiday decoration onto the corners of these envelopes from Paper Source. [...]
ReplyDelete